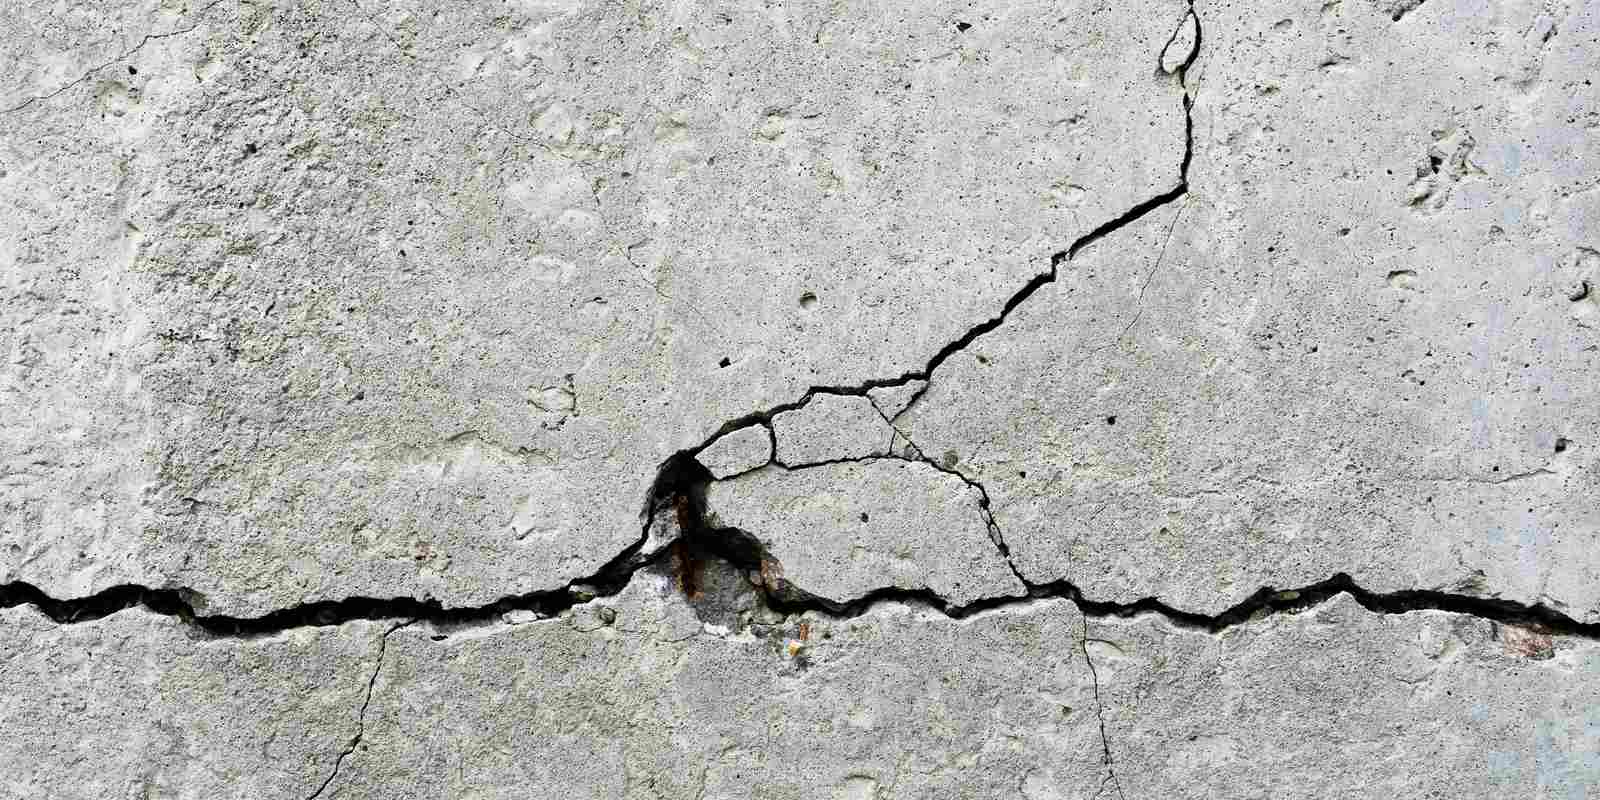
A Step-By-Step Guide To Patch Concrete Cracks And Bug Holes
Repairing cracks and bug holes in concrete is crucial before painting. A smooth surface ensures a professional finish. It's important to address these imperfections early on. Doing so prevents issues later in the painting process. Smooth surfaces enhance the paint's appearance and longevity. Also, fixing cracks and bug holes maintains the concrete's structure. By filling in these gaps, the concrete becomes more resistant to water penetration and other forms of damage. This proactive approach saves time and money in the long run. Coating manufacturers stress the importance of this step. It directly affects their products. So, preparing the surface is essential. It is needed for a strong and good-looking coating.
Prepare The Surface Before Applying
Before painting concrete, it's super important to prep the surface. Cracks and bug holes mess up how it looks and how long it lasts. That's why getting it ready is key. You have to fix those cracks and holes first. Then, clean it up well. Make sure it's all smooth and ready for painting. When you do that, the paint sticks better and looks way nicer. So, take your time with it. Don't rush through this step. It makes a big difference in the end. Remember, good prep work makes for a better paint job. And that's what we want, right? Nice-looking and long-lasting paint. So, don't forget to prep the surface well before you start painting. That's the secret to a job well done. And hey, if you're not sure how to do it right, you can always ask the experts. Coating manufacturers know all about prepping surfaces for paint.
Materials Needed For Patching
Concrete Patching Compound
- A specialized material designed to fill cracks and bug holes in concrete surfaces. It adheres well to concrete and provides a durable repair.
Bonding Agent or Primer
- Enhances the adhesion between the existing concrete surface and the patching compound. It ensures a strong bond, preventing the patch from separating or delaminating over time.
Wire Brush or Chisel
- Used to clean the cracks and bug holes by removing loose debris, dirt, and any deteriorated concrete. This step ensures proper adhesion of the patching compound to the surface.
Trowel
- Essential for applying and smoothing the patching compound onto the concrete surface. It allows for precise application and helps achieve a level and uniform finish.
Putty Knife or Margin Trowel
- Used for filling smaller cracks and bug holes with the patching compound. It facilitates precise application and helps ensure that the repair is flush with the surrounding surface.
Safety Equipment (Gloves, Goggles, Respirator)
- It shields the user from skin irritation, eye injuries, and breathing dust or fumes. Safety equipment is essential to ensuring a safe working environment.
Water
- It is often necessary to mix the concrete patching compound to the correct consistency. Additionally, water may be required for cleaning tools and the repaired area after patching.
Clean Cloth or Sponge
- Used for wiping excess patching compound from the surface and cleaning tools before the material hardens. This helps achieve a neat and professional-looking repair.
Step-By-Step Guide To Patching Concrete Cracks And Bug Holes
Step 1: Clean the Surface
Use a wire brush or chisel to remove loose debris, dirt, and any deteriorated concrete from the cracks and bug holes. Thoroughly clean the surface to ensure proper adhesion of the patching compound.
Step 2: Prepare the Patching Compound
Follow the manufacturer's instructions. Mix the concrete patching compound with water until it is the right consistency. Use a mixing container and a stirring stick to achieve a smooth and lump-free mixture.
Step 3: Fill the Cracks and Bug Holes
Use a putty knife or margin trowel to apply the patching compound into the cracks and bug holes. Fill them, ensuring that the compound is slightly overfilled to account for shrinkage as it dries.
Step 4: Smooth the Surface
Use a trowel to level and smooth the patching compound, ensuring it is flush with the surrounding surface. Work quickly but carefully to achieve a uniform finish.
Step 5: Allow the Patch to Dry
Follow the manufacturer's instructions regarding the drying time of the patching compound. Typically, it may take several hours or overnight for the patch to fully cure and harden.
Step 6: Sand the Surface (Optional)
If desired, lightly sand the patched area once it is completely dry to smooth out any rough spots or imperfections. Use fine-grit sandpaper and sand in a circular motion until the surface is smooth.
Step 7: Prime the Surface
Apply a bonding agent or primer to the patched area according to the manufacturer's instructions. This enhances adhesion and ensures a strong bond between the patching compound and any subsequent coatings or paints.
Step 8: Paint the Surface
Once the primer is dry, you can paint the patched area to match the surrounding concrete. Choose a high-quality concrete paint suitable for exterior or interior use, depending on the location of the repair.
Step 9: Apply Extra Coats (if needed)
Depending on the depth of the cracks and bug holes, you may need to apply many coats of patching compound to achieve a smooth and level surface. Follow the same process for each extra coat, allowing proper drying time between applications.
By following these steps carefully, you can fix concrete cracks and bug holes well. This will restore the surface's strength and appearance.
Tips For Success In Concrete Patching And Painting
Choose the Right Materials
Be sure to pick a high-quality patching compound, primer, and paint for concrete. Using the appropriate materials will result in a more durable and long-lasting repair.
Follow the Manufacturer's Instructions
Always read the adhesive manufacturer's instructions. They come with the patching compound, primer, and paint. This includes mixing ratios, drying times, and application techniques to ensure optimal results.
Proper Surface Preparation
Thoroughly clean the surface before patching to remove dirt, debris, and loose material. Additionally, roughen the surface slightly to promote better adhesion of the patching compound.
Work in Small Sections
If dealing with a large area or many cracks, work in small sections to ensure proper application and smoothing of the patching compound. This helps maintain control and achieve a uniform finish.
Fill Cracks Completely
Fill cracks and bug holes with the patching compound. Slightly overfill if needed to account for shrinkage as it dries. This prevents air pockets and ensures a strong repair.
Smooth and Level Surface
Use a trowel to level and smooth the patching compound, blending it seamlessly with the surrounding concrete surface. Take your time to achieve a professional-looking finish.
Allow Sufficient Drying Time
Let the patching compound, primer, and paint dry between coats. Also, let them dry before adding more layers. Rushing the drying process can compromise the integrity of the repair.
Use Protective Equipment
Wear the right safety gear. This gear includes gloves, goggles, and a respirator. It protects you from dust, fumes, and chemicals. These dangers are part of patching and painting.
Apply Multiple Coats if Needed
The damage may be severe. You may need to apply multiple coats of patching compound, primer, and paint. This is to get the result you want. Allow each layer to dry completely before applying the next.
Regular Maintenance
After patching and painting, monitor the repaired area regularly for signs of wear or damage. Promptly address any issues to prevent further deterioration and maintain the integrity of the repair.
Common Challenges And Solutions
Shrinkage Cracks
Shrinkage cracks may appear after the patching compound dries. To fix them, just add more compound to fill the cracks and smooth the surface.
Poor Adhesion
If the patching compound doesn't stick, clean and prime the surface. Then, apply the compound. Consider using a bonding agent for better adhesion.
Uneven Surface
If the patched area looks uneven or rough, sand it after it dries. This will make it smooth before priming and painting.
Color Matching
To ensure a seamless appearance, select a paint color that closely matches the surrounding concrete. You can also consider blending many paint colors to achieve a more accurate match.
Weather Conditions
Avoid patching and painting concrete in extreme temperatures or bad weather. This can harm the drying and curing processes. Work during mild weather conditions for the best results.
Follow these tips. Address common challenges well. Then, you can successfully patch and paint concrete. This will restore their appearance and strength.


