Correct Way of Polyurethane Application On Wood Floors
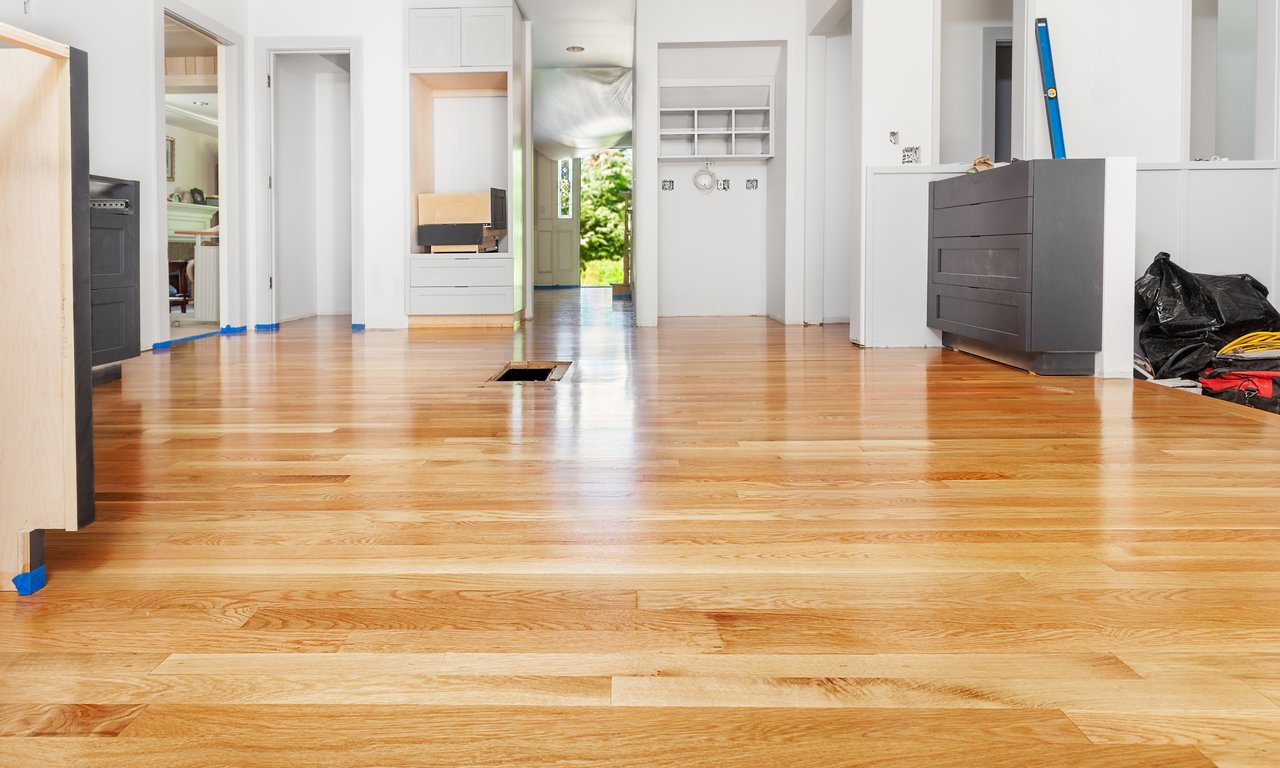
Applying polyurethane to wood floors is key. It keeps them looking nice and lasting a long time. This clear coating helps stop scratches, stains, and damage. It makes the floor look better and last longer. In this article, we talk about how many coats of polyurethane you should use for the best results. We need to make sure the floor is safe, strong, and looks good. We have to balance all three things. Homeowners and pros need to understand these things. It helps keep their wood floors looking great for a long time. Putting polyurethane on wood floors requires careful consideration to ensure it works well. If a place is busy or it's someone's home, thinking carefully about it is important.
Types of Polyurethane
Polyurethane finishes come in two types: oil-based and water-based. concrete floor coating Oil-based paint dries in a whole day. Water-based paint dries fast and doesn't smell much. Oil-based paint smells strong when you use it and as it dries. But oil-based ones last longer and make wood look a bit darker and richer. Water-based ones are easier to clean with soap and water and don't turn yellow as they age. Pick based on how long you want to wait for it to dry, how much you can stand the smell, and how tough you want it to be. Each type has good things and not-so-good things.
Related: Different Types Of Finishes Available For Concrete Floors?
Properties of Polyurethane
Polyurethane is good at keeping things safe from scratches, stains, and water. It's great for lots of different things because it helps them last longer and look nice. When you put on more than one layer, it becomes even better at protecting stuff and making it last longer. This strong wall keeps away things that could damage what's underneath. Polyurethane acts like a shield, protecting floors, furniture, and more. It keeps them safe from harm and It's especially good for places where lots of people walk or use things a lot. If you put it on carefully, it does its job even better, keeping things safe and looking good for a long time.
Determining the Number of Coats
Condition of the Floor
When you're figuring out how many coats of finish to put on a wood floor, it's important to check how the floor looks. See if there are scratches or dents, or if the wood is very holey. These things can change how well the finish sticks and protects the floor. If the floor has lots of scratches and looks worn out, it might need more coats to look nice and stay safe. And if the wood is super holey, it might soak up more finish, so you'll need to add extra coats to cover it all up. Look closely at the floor. See how it is. Then, decide how many coats to use. This will keep it strong and looking good.
Desired Level of Protection
Think about how many people will walk on your floor and if there might be spills or water. Keep these in mind to keep your floor safe. If many people walk there or there could be spills, add more layers to make it strong and last longer. If you think about these things, you can choose the right way to keep your floor nice for a long time. Also, if you clean it often and take good care of it, your floor will last even longer and look good. Doing these things will help you not have to fix or change your floor as much, which will save you time and money later.
Aesthetic Preferences
When you're picking what goes on your floor, think about how shiny and smooth you want it to be. To make your floor look nice and stay strong, you need to apply many layers of a thing called polyurethane. This stuff makes sure your floor doesn't just look good but also stays tough for a long time. By carefully applying each layer of polyurethane, you can make bumps and rough spots on the floor go away. This makes it look smooth and shiny. You may want your floor to be super shiny or not too flashy. Using polyurethane is key to making it look great. If you're careful and do it right, you can make your floor look nice and even, make any room look better.
Application and Technique
Proper Application Technique
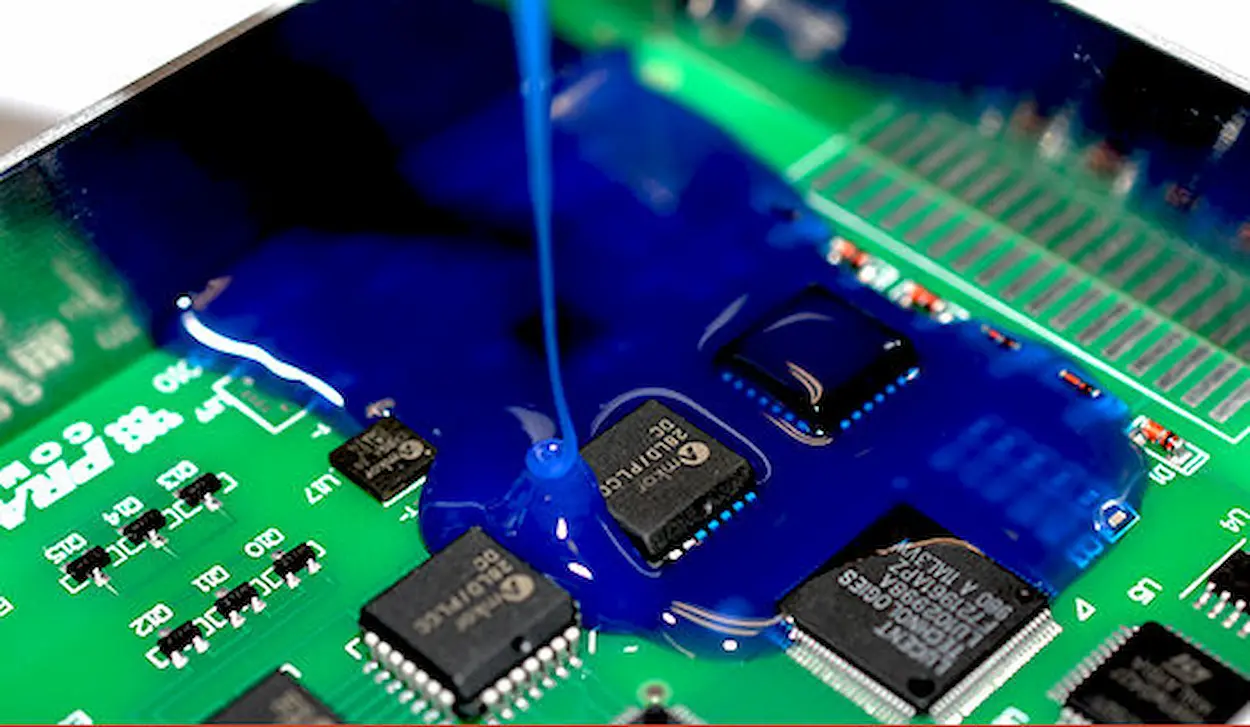
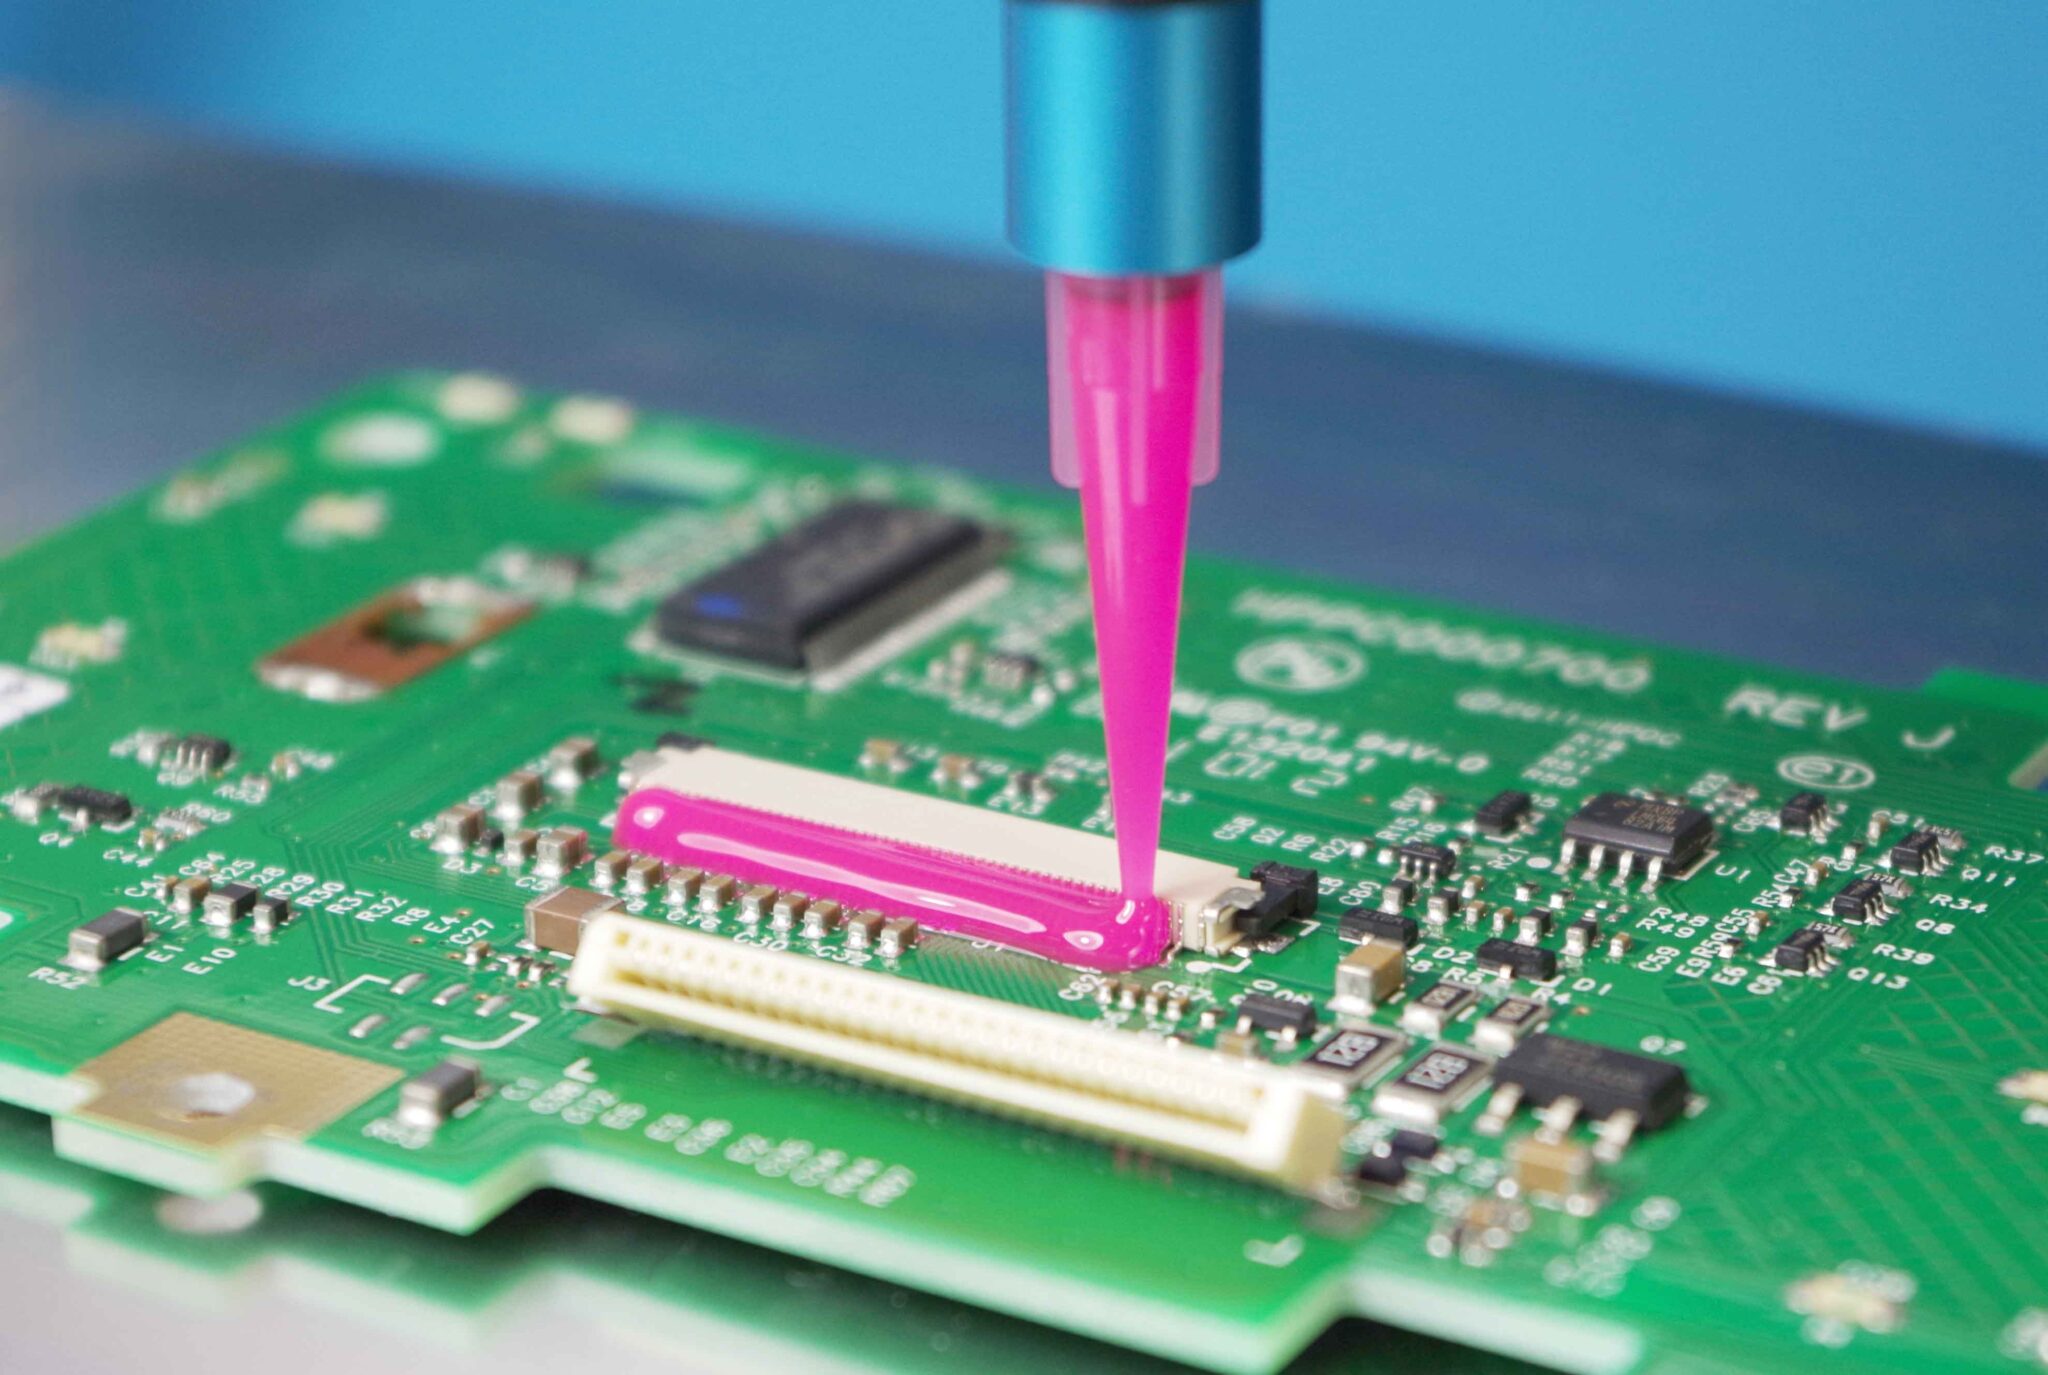
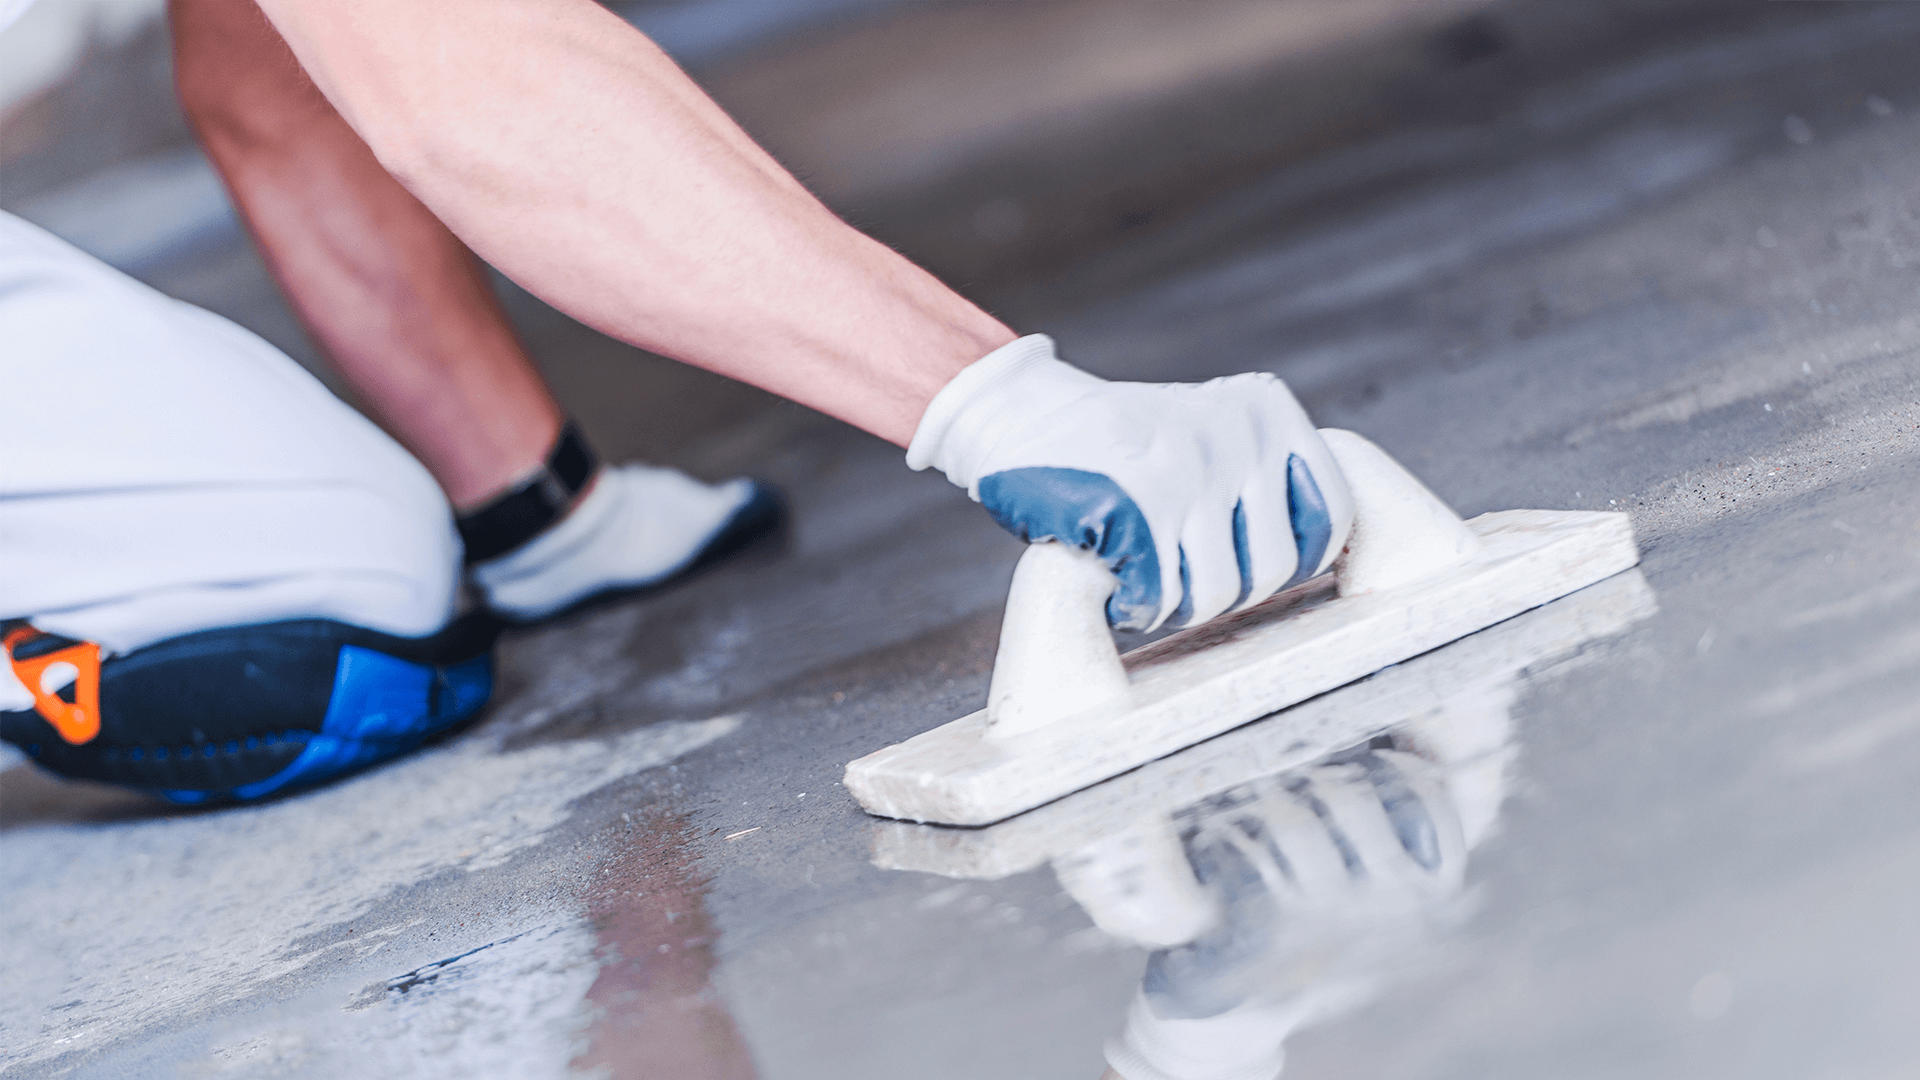
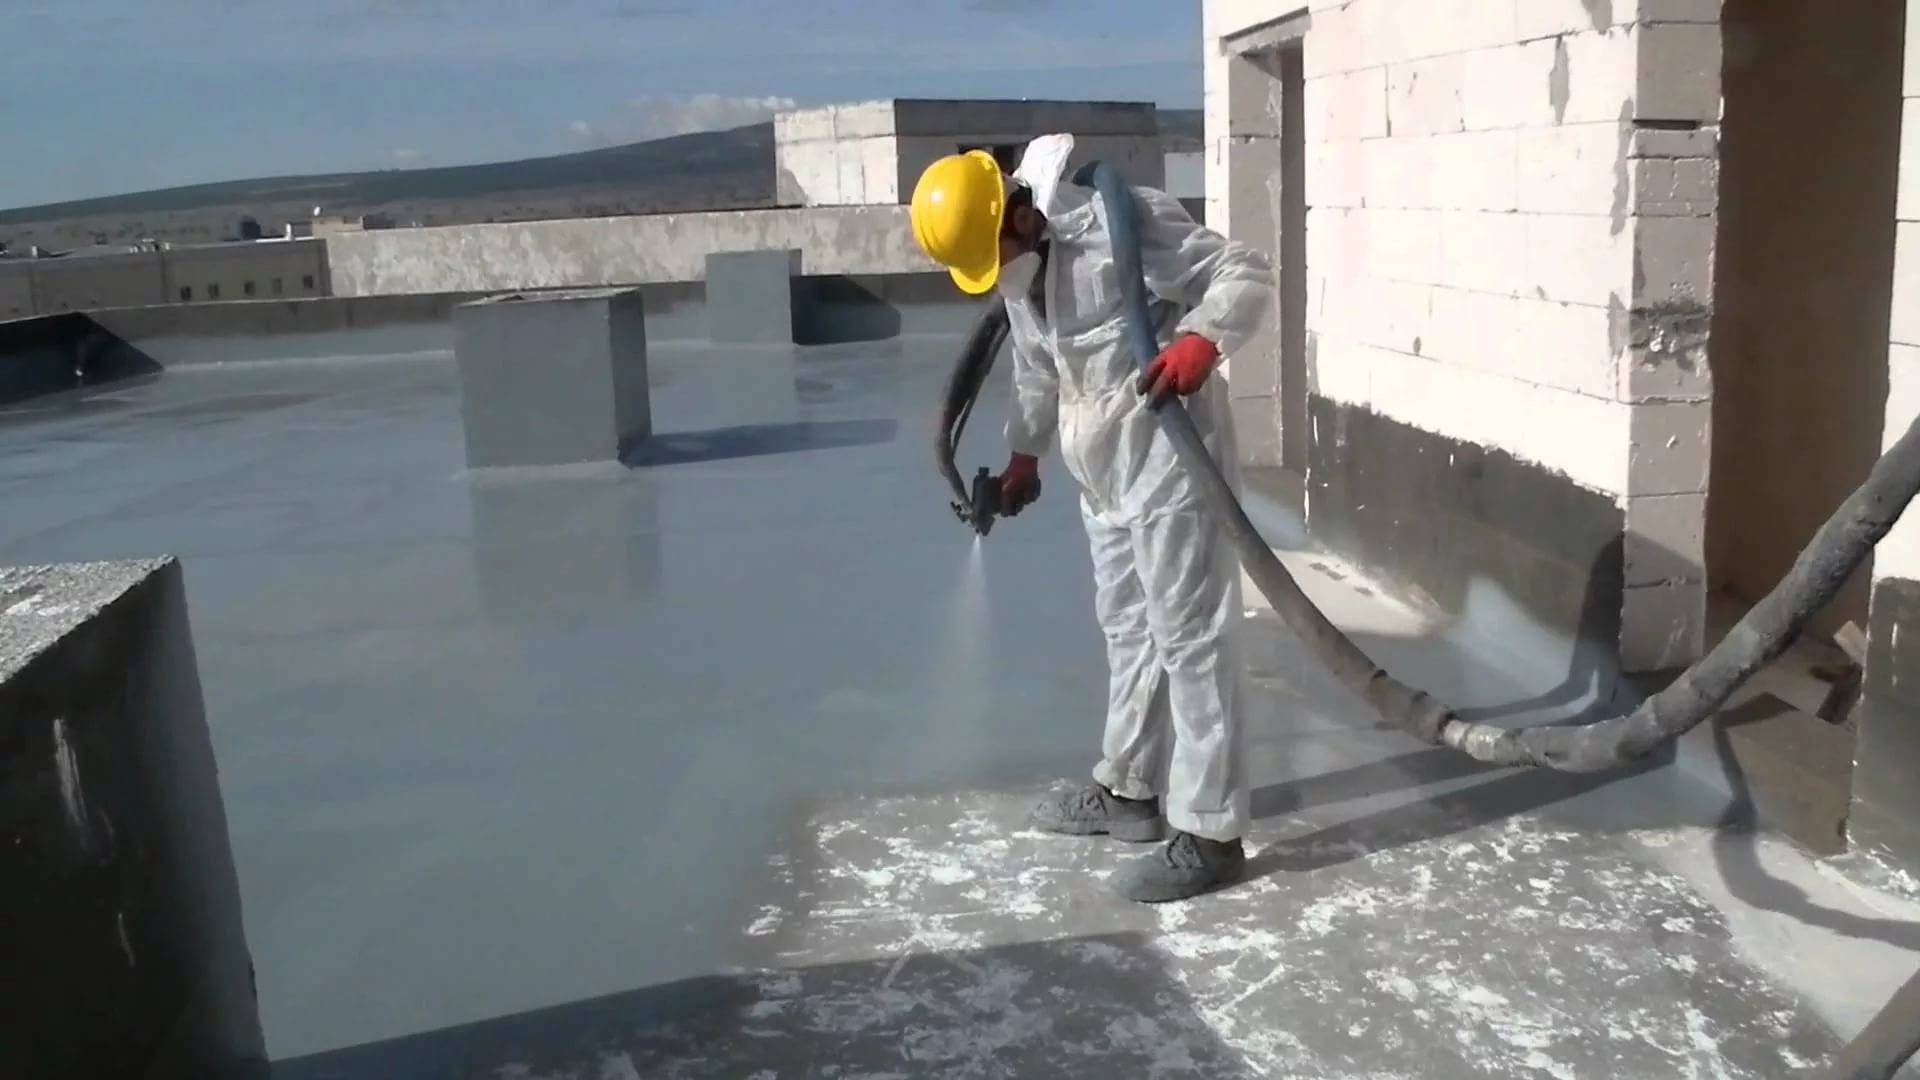
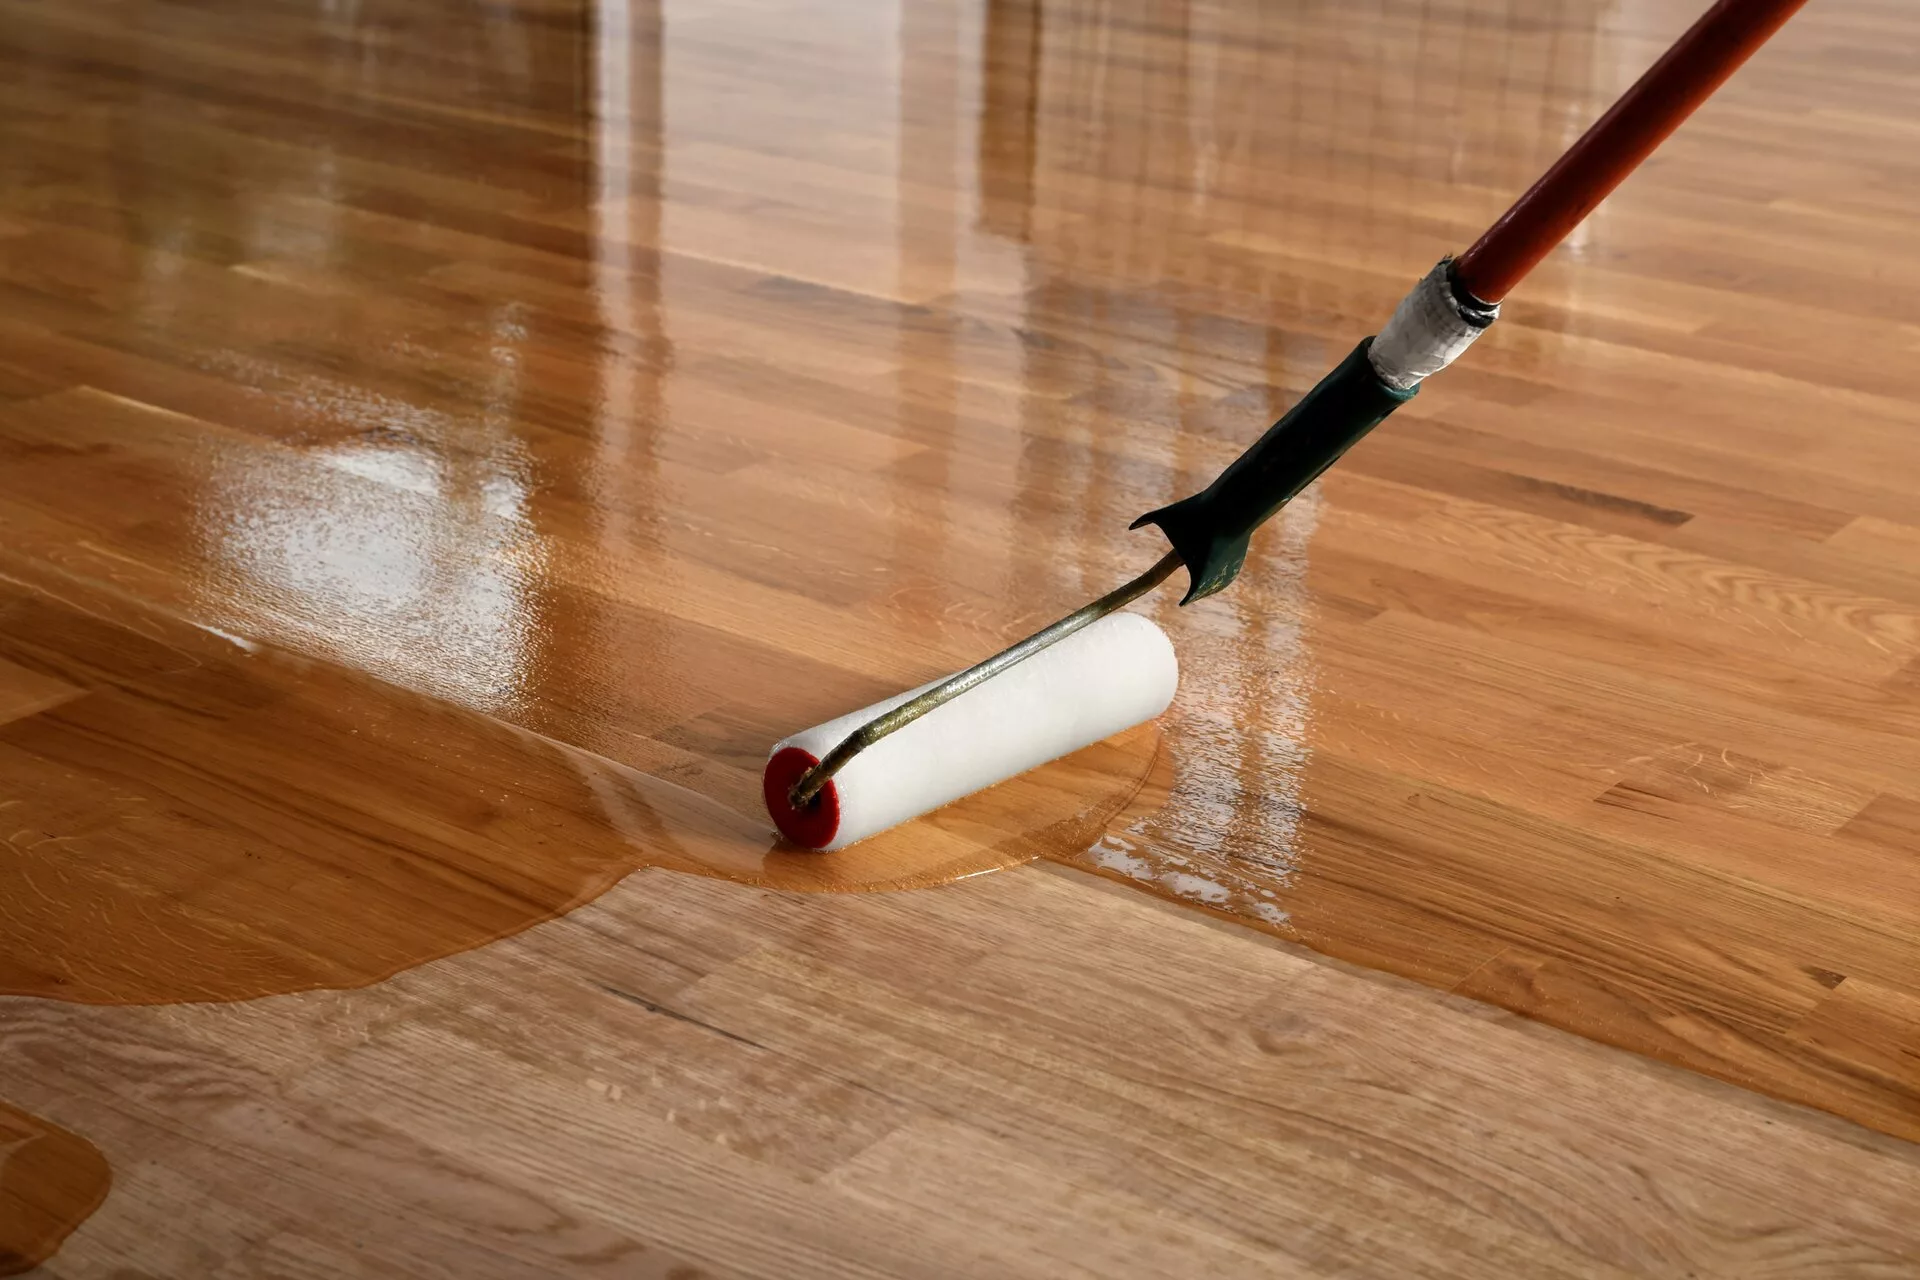
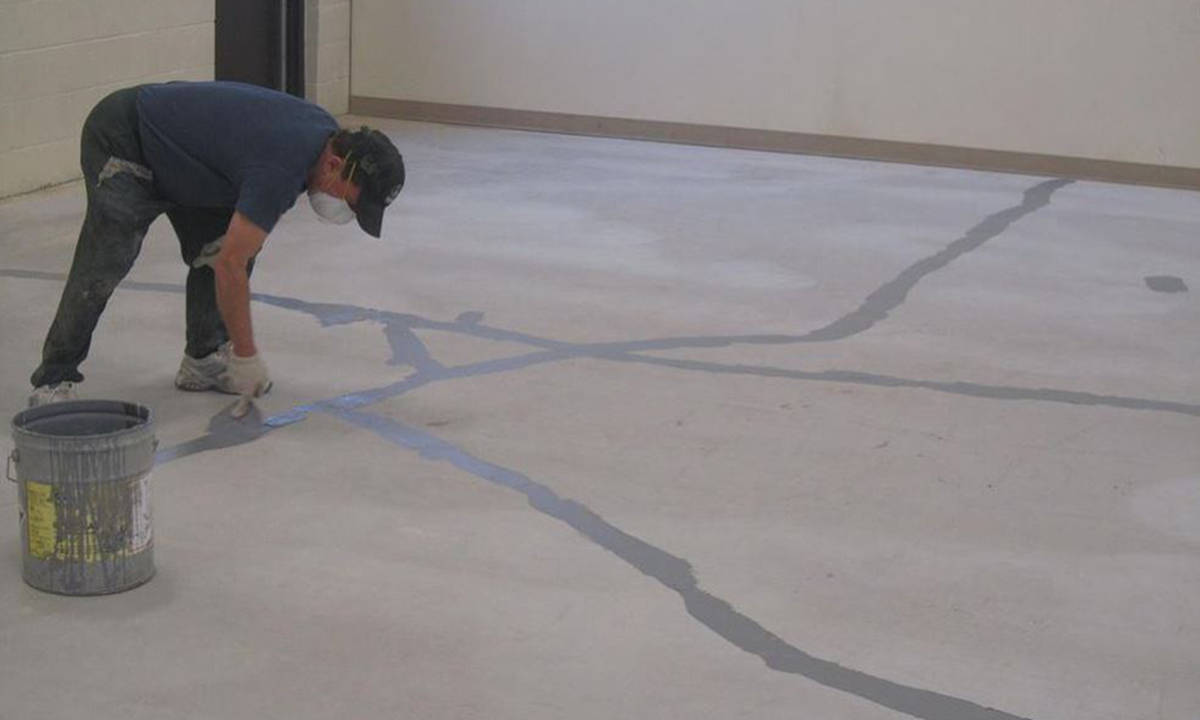
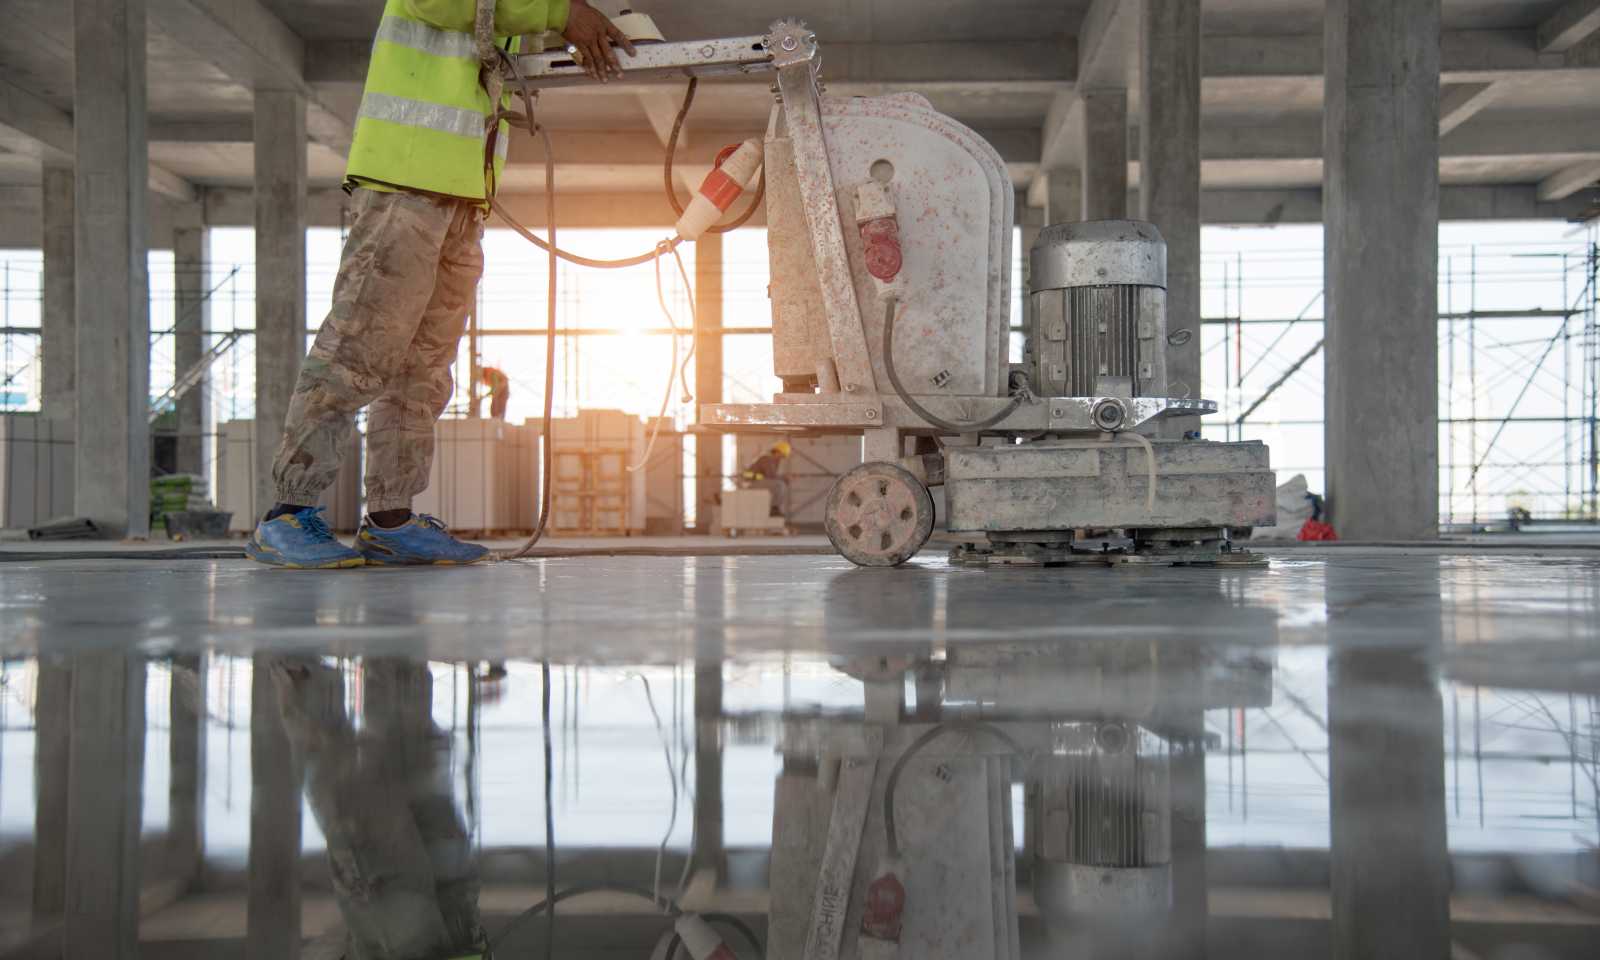
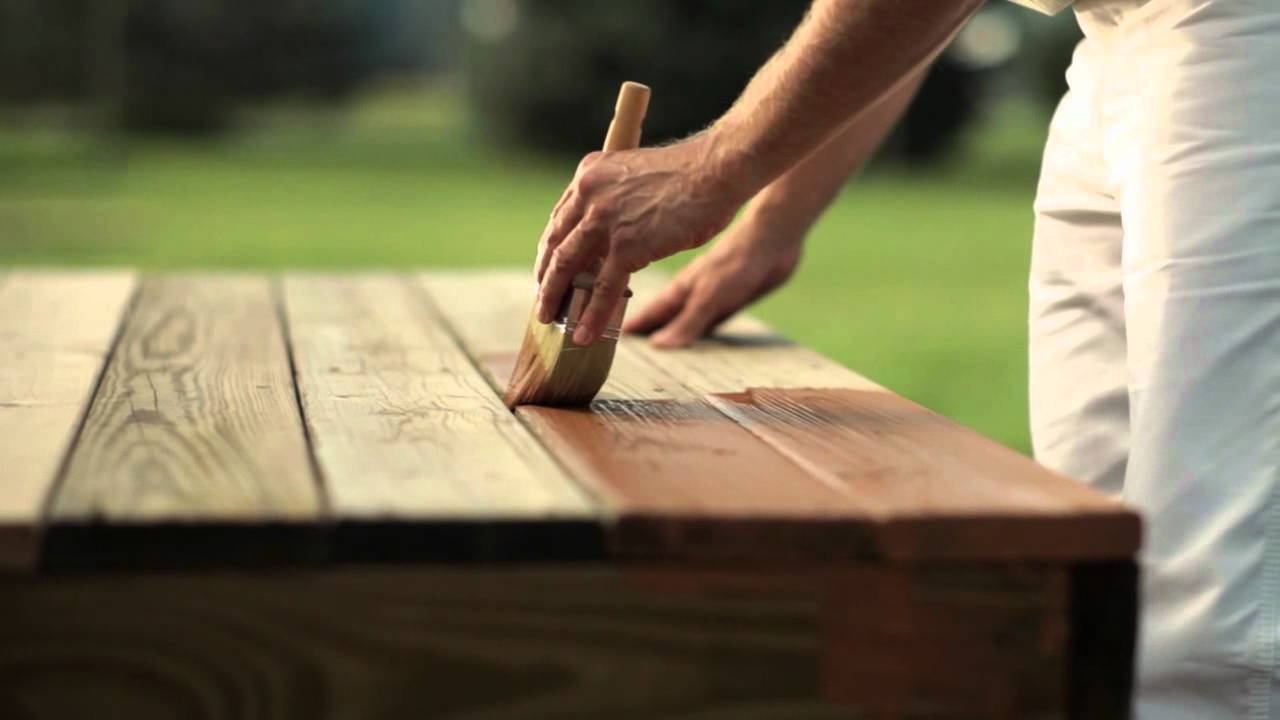
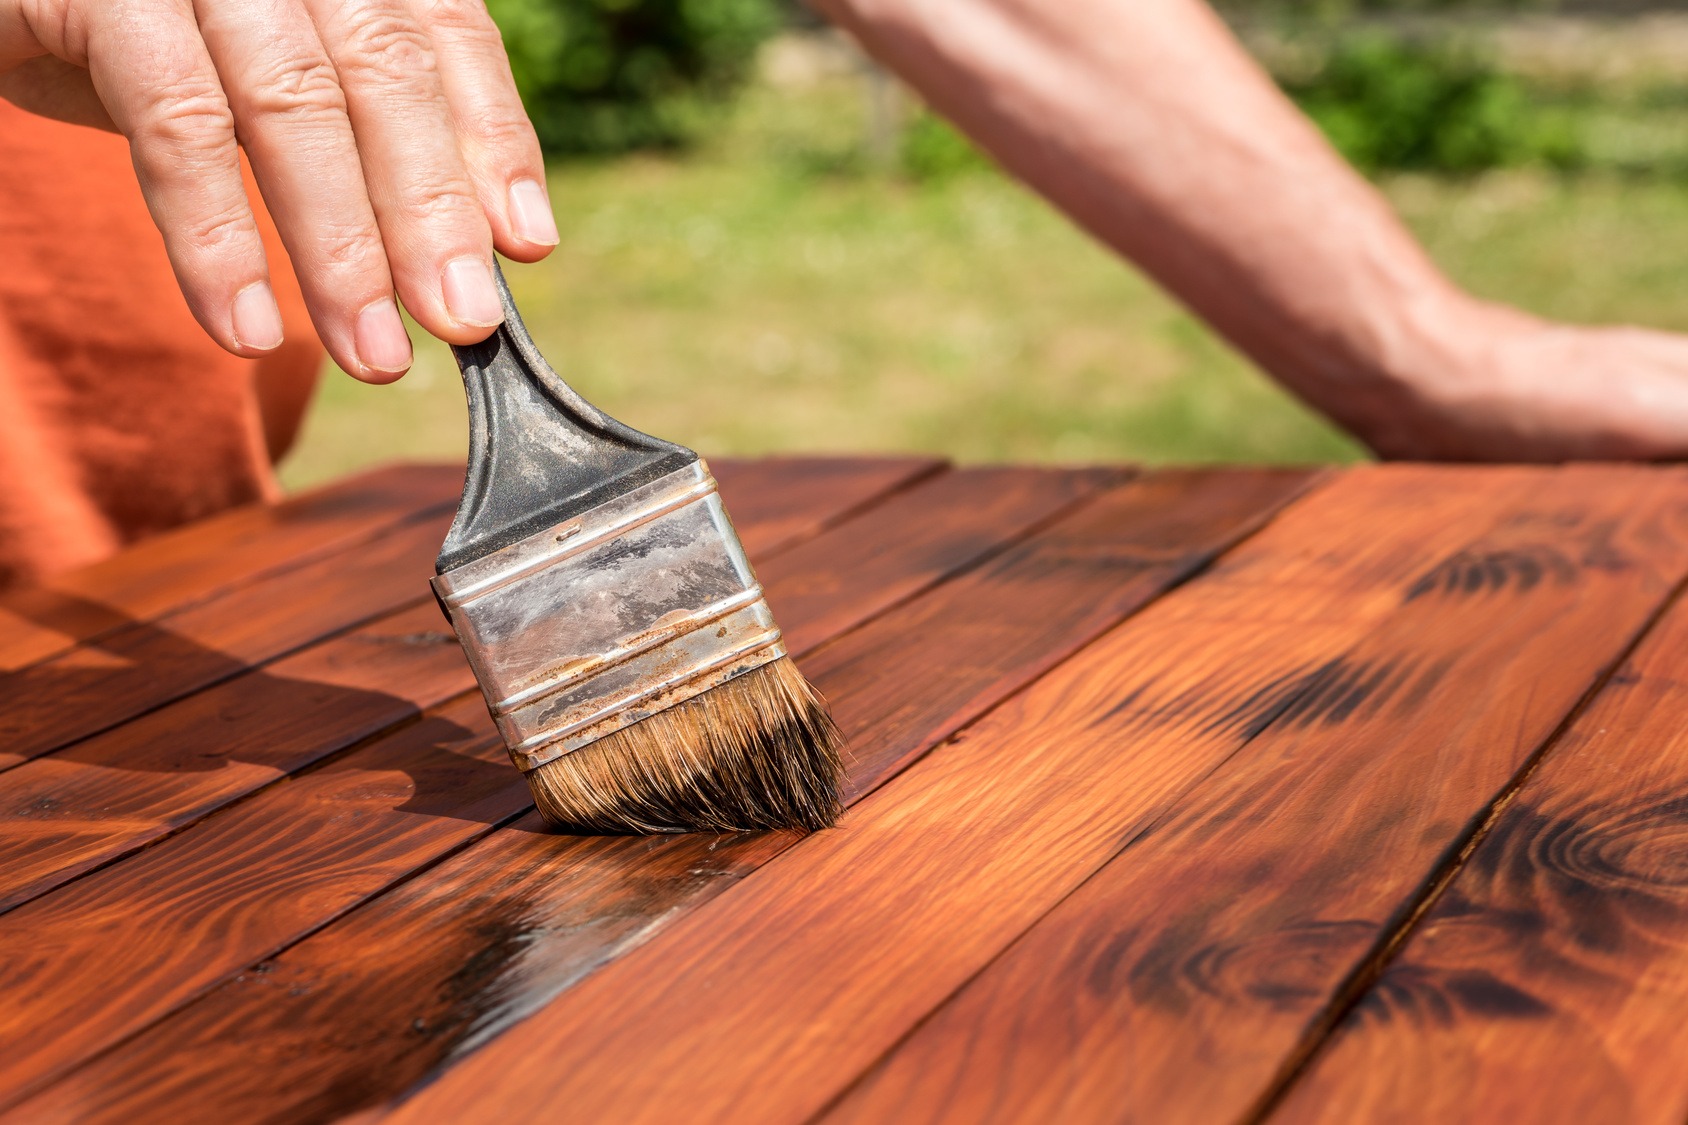
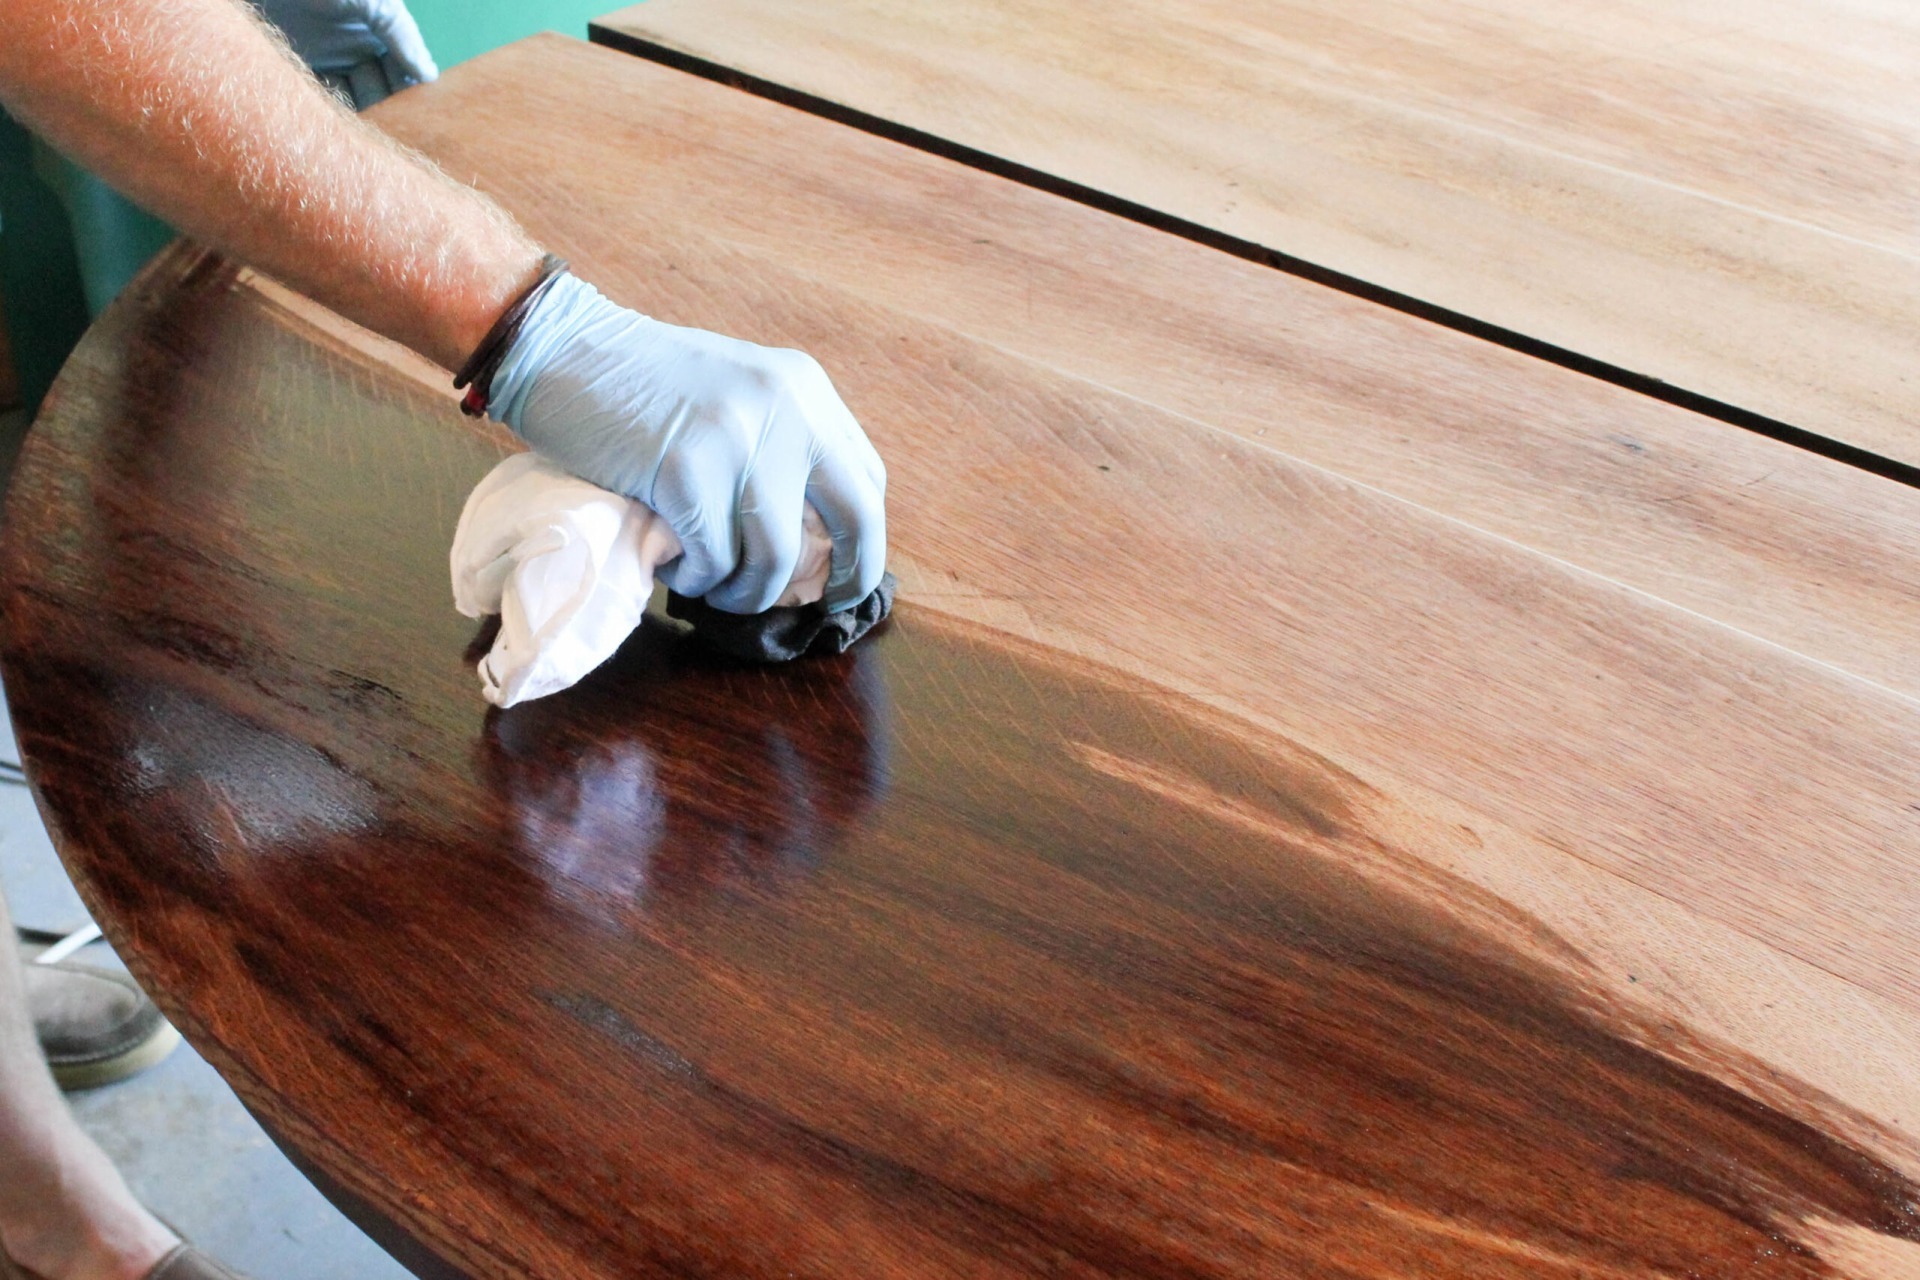
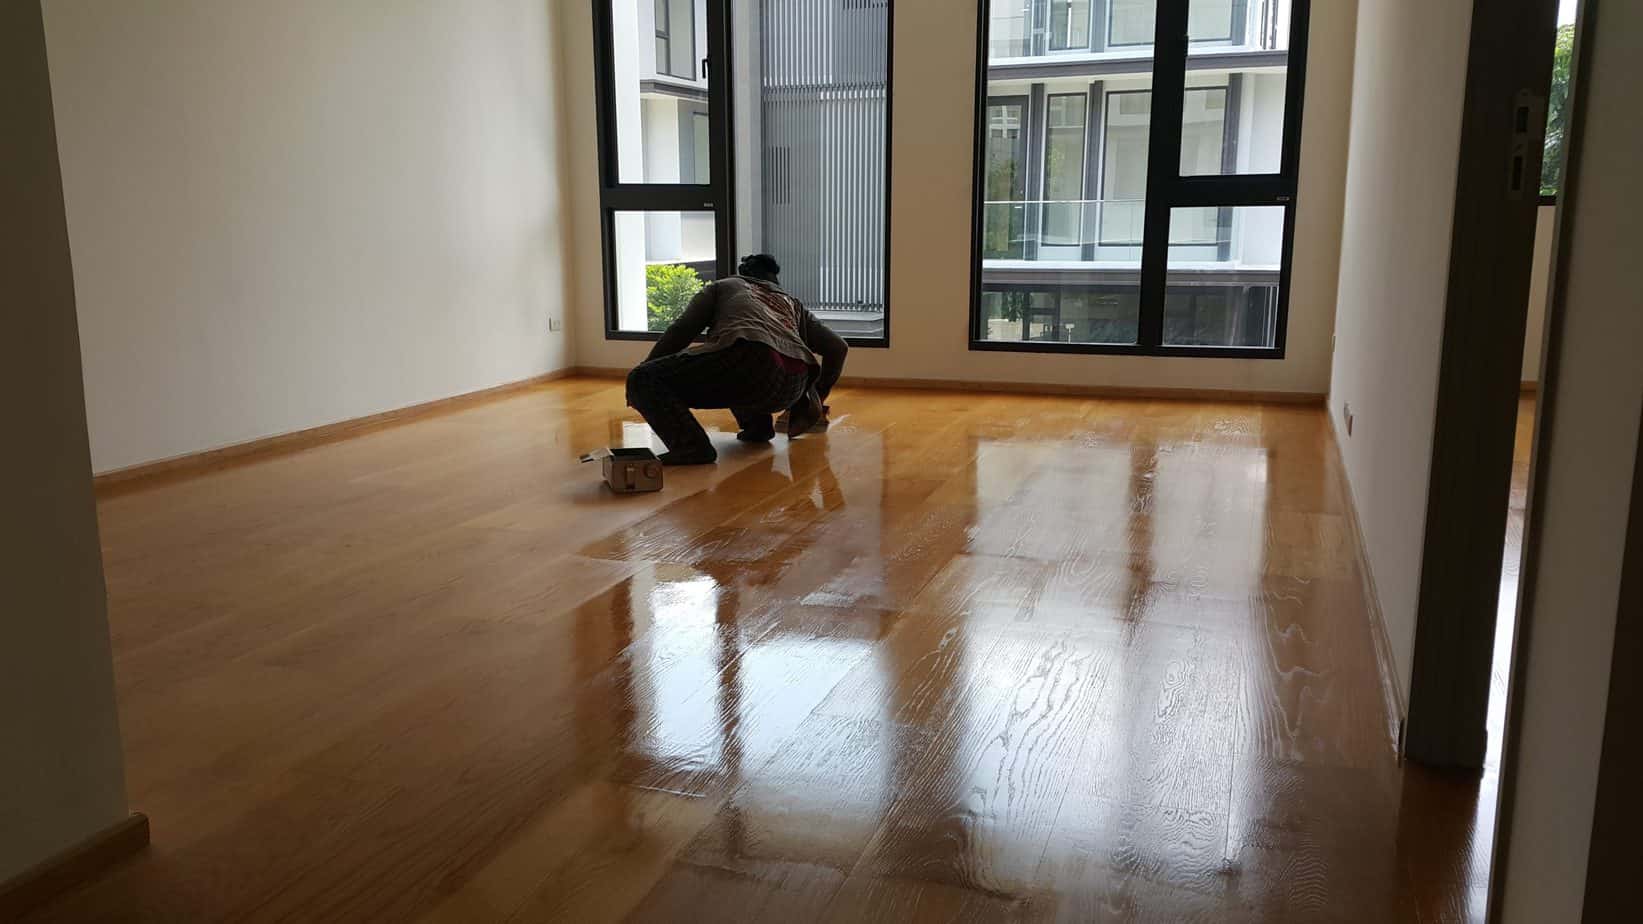
To apply the product effectively, start by preparing the surface properly. This involves cleaning and smoothing the area to be coated. Pick how to put it on, like brushing or spraying, based on what it is and where you're using it. It's crucial to apply thin, even coats to ensure proper coverage and avoid drips or uneven finish. Allow each coat to dry completely before applying the next one. This drying time ensures that the product sets properly and adheres well to the surface. Rushing this step can lead to poor adhesion and premature wear. Follow these steps carefully. You'll get a good finish that lasts longer and works better.
Sanding Between Coats
When you're putting on layers of polyurethane, sanding is super important. It helps make the surface smooth and helps the new layer stick better. Here's how it works: you gently rub sandpaper on the surface to make it nice and smooth for the next coat. You need to pick the right kind of sandpaper, like fine-grit sandpaper, which is smooth. This kind of helps get rid of any tiny bumps without ruining what's underneath. Sand between coats to make the finish smoother and last longer. Sanding also helps the polyurethane look better.
Conclusion and Recommendations
Determining the Number of Coats
When you're deciding how many times to put polyurethane on a floor, think about a few things. Look at what kind of wood it is, how much people walk on it, and how strong you want it to be. You want to make sure the floor is protected, lasts a long time, and looks good. If you don't put enough coats on, the floor might get hurt easily. But if you put too many coats, the finish might be too thick and not smooth. Make sure to follow the instructions and try it out in a hidden spot first. To keep your floor looking great for a long time, find the right balance. It helps it last longer and look nice!
Related: What Factors To Consider When Installing Anti-Static Flooring?
Application Tips and Best Practices
To make sure your polyurethane works great, first, clean the surface really well. Make sure it's nice and smooth, without any dirt or stuff on it. When you put on the polyurethane, try to use thin layers, not thick ones. This helps you control it better and stops it from dripping or making bubbles. In between each layer, gently sand the surface to make it stick better and get rid of any bumps. If you follow these steps, you'll get a super nice finish that'll last a long time. Also, think about getting good polyurethane from top coating suppliers in USA. That way, you'll get the best results. Doing these simple things can help your project turn out great.


